Concave Setup for Maximum Threshing/Combining Efficiency
Extrem’ Concaves are designed for versatility, allowing you to tailor the setup to your specific crop type and harvesting conditions. Our recommended configurations, tested extensively by combine specialists, offer a reliable starting point. Once you understand how Extrem’ Concaves perform, you can customize the setup to suit your unique needs.
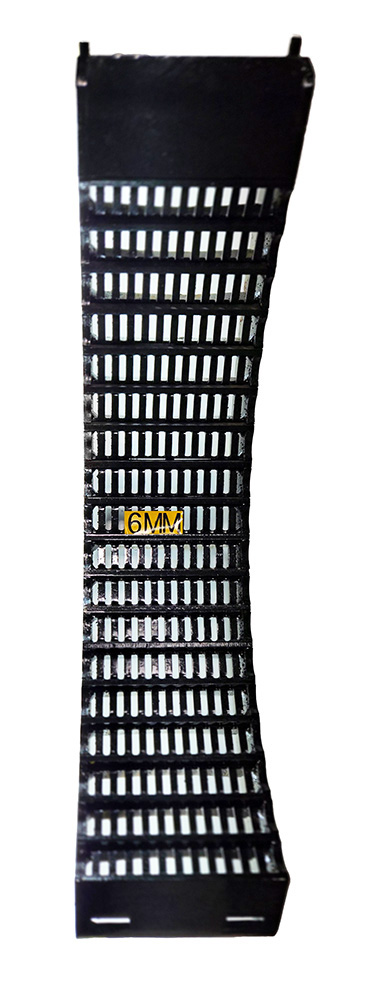
6mm
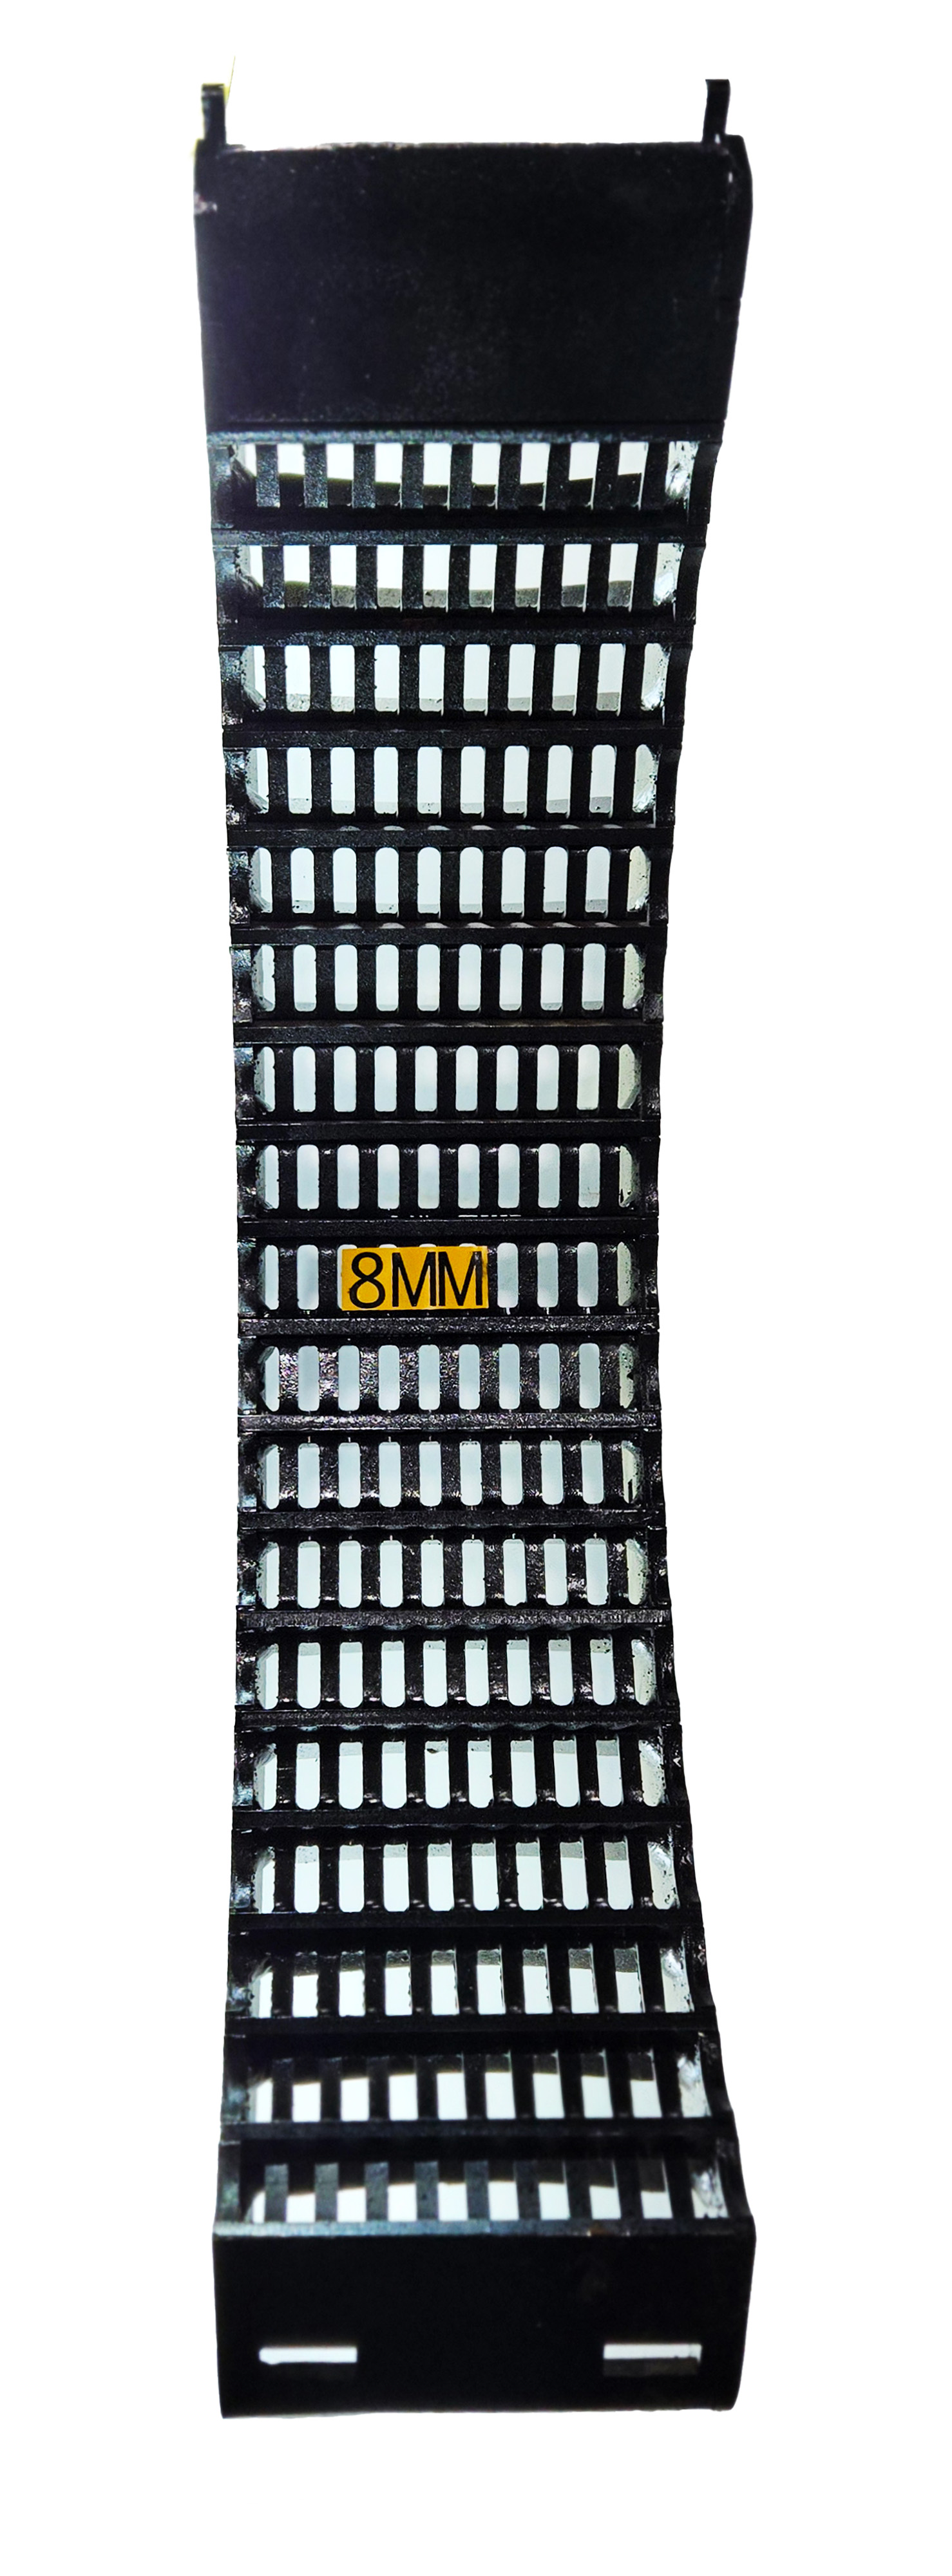
8mm
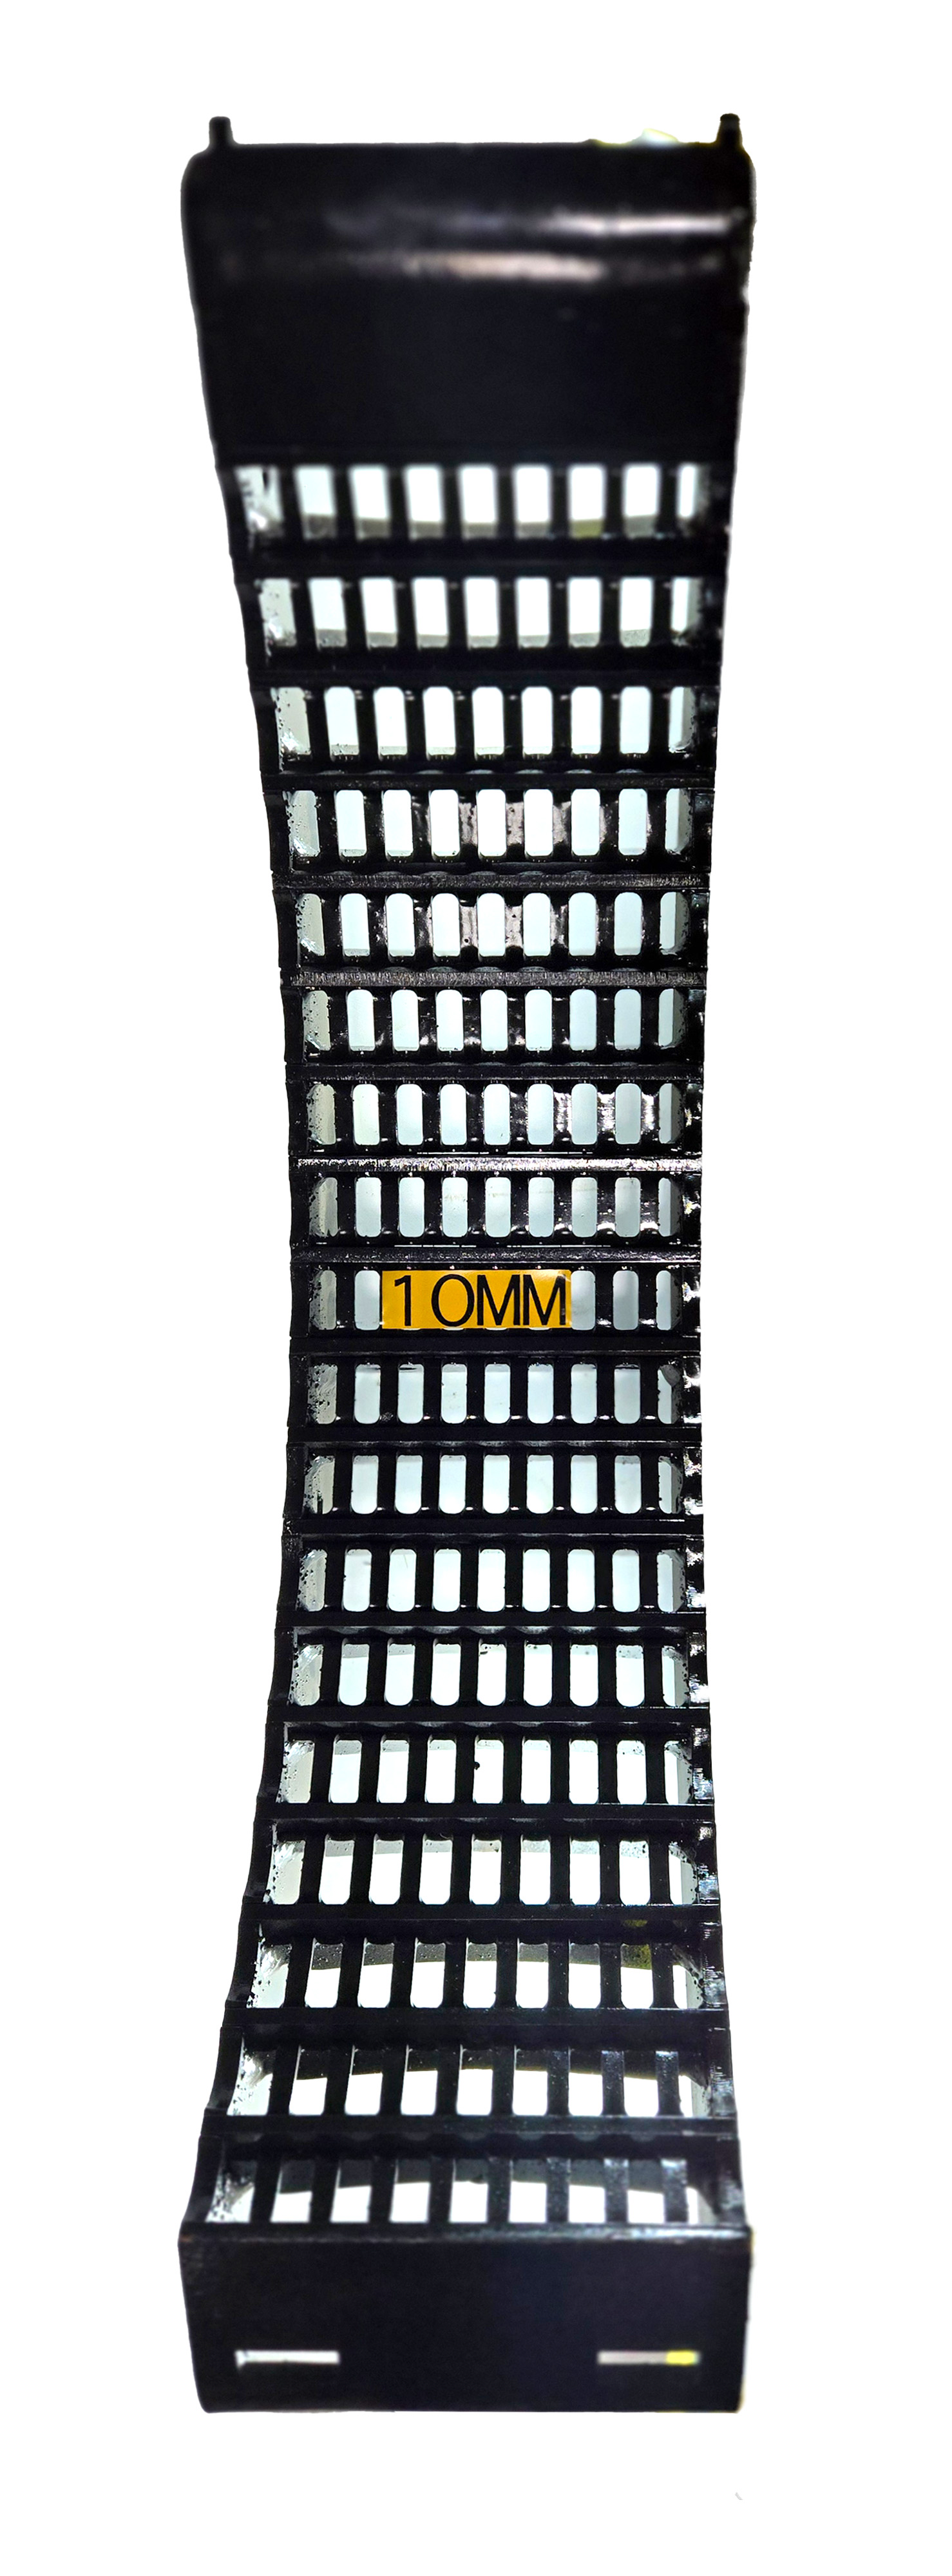
10mm
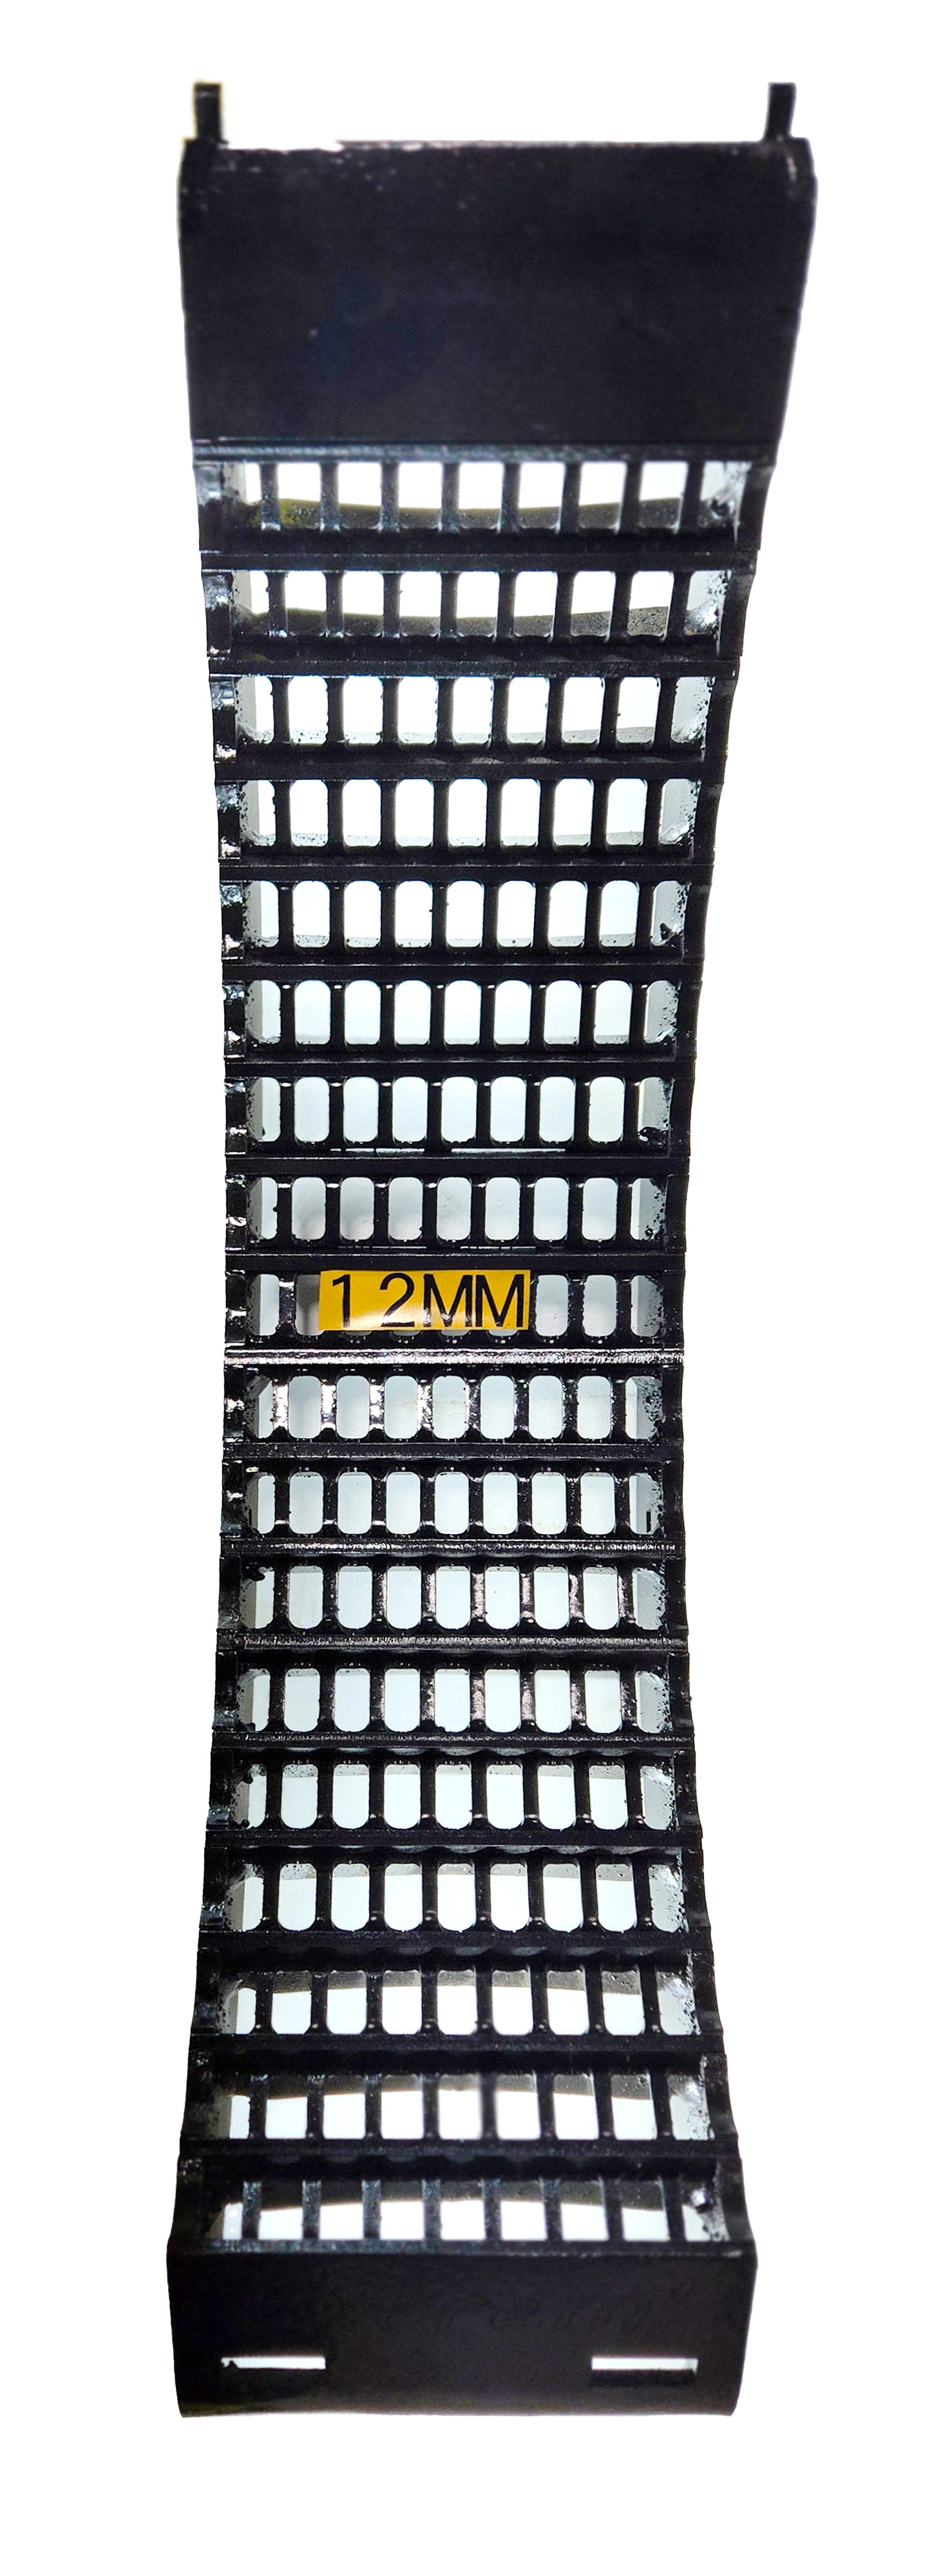
12mm
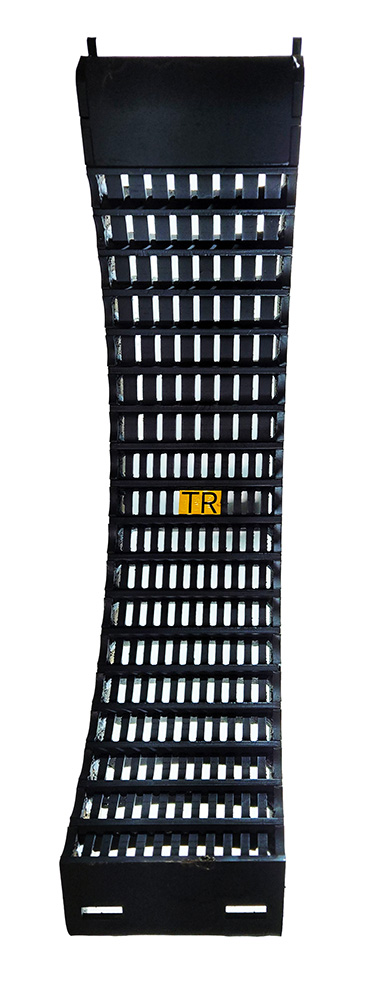
TR
Recommended Concave Layouts
| Crop | Wheat | Barley/Oats | Canola | Lentils | Peas | Soybeans | Corn |
|---|---|---|---|---|---|---|---|
| Rotor | 1100–1200 | 1000–1100 | 650–750 | 650 | 500 | 600 | 410 |
| Fan | 1040–1080 | 1000 | 700–750 | 900 | 1000 | 980 | 1310 |
| Concave | 5–10 | 10–15 | 18–22 | 15–17 | 22 | 16 | 25–37 |
| Pre Sieve | 15 mm | 15 mm | 10 mm | 12 mm | 15 mm | 15 mm | 15 mm |
| Top Sieve | 15–16 | 16–17 | 14–15 | 13–15 | 17 | 16 | 19 |
| Bottom Sieve | 7–8 | 8–10 | 4–5 | 6–7 | 10 | 8 | 14 |
| 1st Position Concave | TR | TR | TR | TR | TR | TR | TR |
| 2nd Position Concave | TR | TR | TR | TR | 8 mm | 8 mm | 8 mm |
| 3rd Position Concave | 6 mm | 6 mm | 6 mm | 6 mm | 12 mm | 12 mm | 12 mm |
| 4th Position Concave | 6 mm | 6 mm | 6 mm | 6 mm | 12 mm | 12 mm | 12 mm |
| 5th Position Concave | 6 mm | 8 mm | 6 mm | 6 mm | 12 mm | 12 mm | 12 mm |
| 6th Position Concave | 8 mm | 10 mm | 8 mm | 8 mm | 12 mm | 12 mm | 12 mm |
With Extrem’ Concaves, you’ll spend less time swapping parts and more time focused on what matters—harvesting your best yields.